Technique: How to make mascarpone cheese
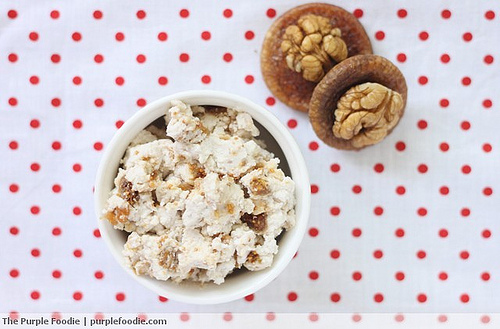
Last week was a fun week filled with lots of experiments in the kitchen. I had the strongest craving to replicate the Tiramisu that I ate on my first evening in Verona. That Tiramisu changed my life (more on that in the Tiramisu post). Tiramisu is generally about assembling ingredients: readymade mascarpone, and store bought […]