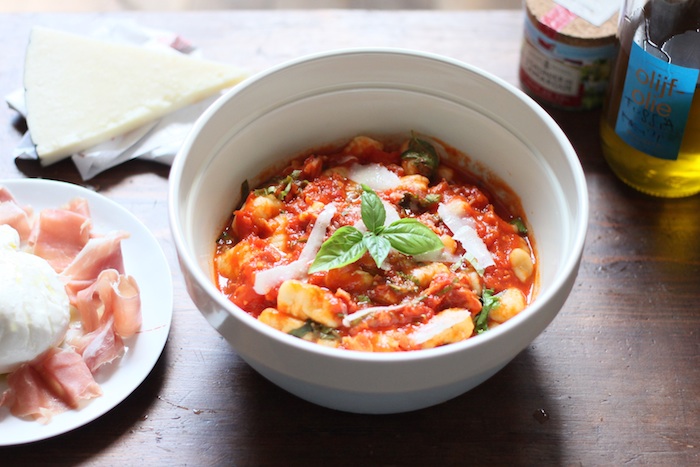
Potato Gnocchi with Tomato Sauce
I joined a cookbook club in London yesterday. A lovely little informal group where everyone brings a book they’ve read and a little something to eat. I made my vanilla brown butter madeleines and took along my new book Bistronomy. You’d well have guessed by now the theme for this month’s meeting – Paris! Everybody […]
Pistachio and Pecorino Pesto
I’d forgotten just how much I love this roughly chopped up “pesto” made with fresh parsley, pungent garlic, toasted pistachios and a good, salty pecorino. All of this is brought together by a grassy extra virgin oil. It’s perfect to keep bottled up in a jar for tossing with some pasta for a weeknight dinner […]
Moules en Papillote
Many months ago, I was a stagiaire at a fantastic little restaurant in Paris. The food was classical, and the kitchen packed with copper ware. I helped on the line with the appetizers and desserts for lunch. Before service , I did the mise-en-place which entailed cleaning squids, battling live scallops and chopping things into perfectly […]
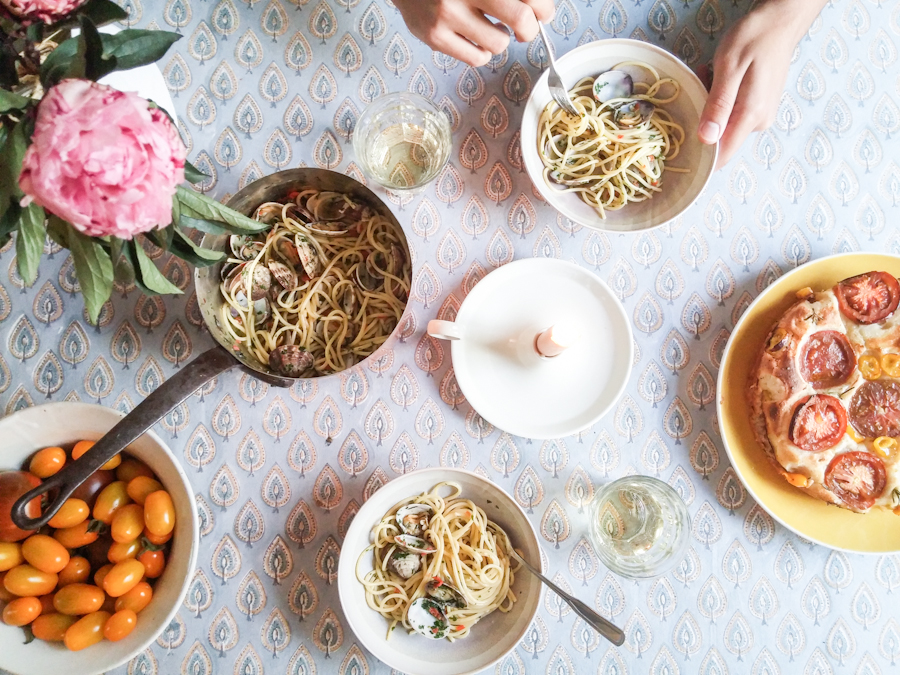
Eating Alone
I’m a lazy cook when it comes to cooking for one. I’ll go to great lengths to cook a meal when I have company, and even take a three hour drive to break bread with friends – but when it comes to fixing myself a meal, I’ll look for as easy way out. I usually […]
Ajiaco + Patacón
It’s holiday season and all of our friend’s are heading back home to celebrate Christmas and this means there are dinner parties and potlucks every other evening. A few days ago we were invited to a dinner party where our friend Luis, made two Colombian specialties called Ajiaco, a dark yellow creamy potato soup and […]
Linguine with Tomatoes, Arugula and Pecorino Cheese
The one thing I realise while studying French cuisine is that I love tomatoes. That’s because they never really use tomatoes to flavour food – it’s always carrots, celery, onions and shallots acting as the main aromatics. In the rare event that the tomatoes do get used, they are cut up into petals or brunoise […]
Caramelised Garlic Tart
You know what I wish I was familiar with sooner? Caramelised garlic. Gently blanched. Slowly cooked. Sticky with balsamic vinegar and olive oil. Fragrant with rosemary and thyme. Almost candy-like garlic. A dear friend recently sent me a few cookbooks as a wedding gift, one among which was a book that’s been on my wishlist […]
Goat Cheese Stuffed Figs
You can probably tell that I have a huge fig fixation looking at the number of photos of it that I clicked at La Boqueria. I love how they look – deep purple with streaks of green and a shimmery pink jewel-like inside. Whenever I buy them, I almost always eat them straight out of […]